Add Files to EFS
The EFS folders and files must be created outside of the container, and AWS has no mechanism to create folders and upload files from the management website, so mount this new EFS to a VM, then create the folders and set up the files. This guide is going to do this by creating a new Linux VM and mounting the EFS to that machine. This is not the only way to do this step, so if you want to do it some other way, you are welcome to do that.
Create New EC2 VM
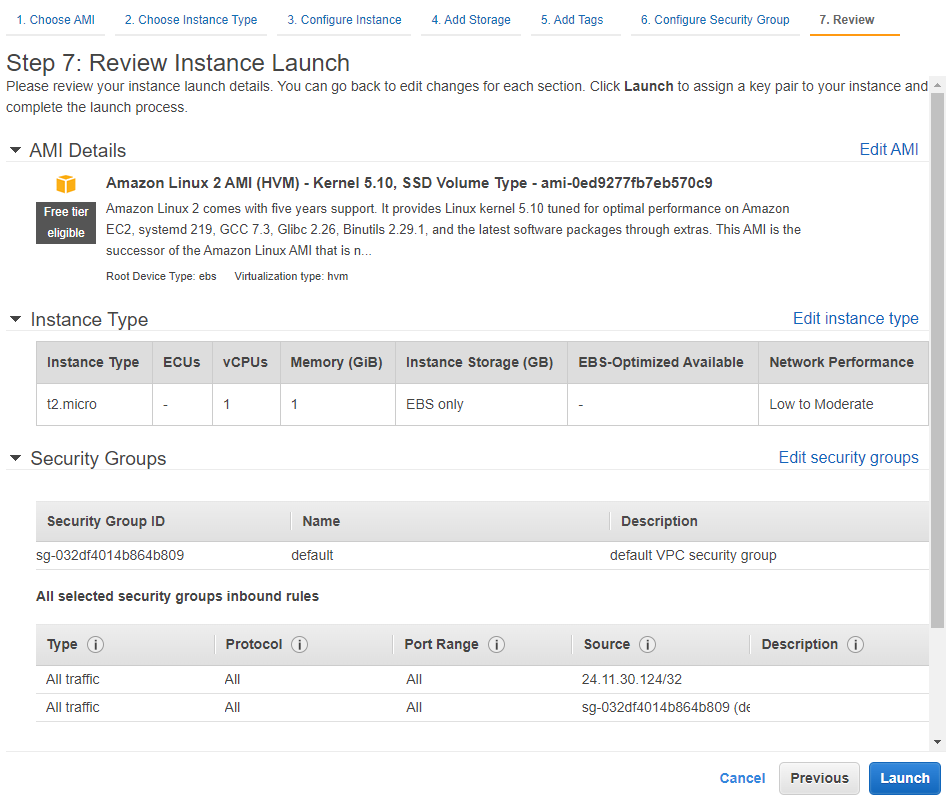
Navigate to the EC2 services management page, then select the 'Instances' menu from the menu on the left side of the page. Click on 'Launch instances' to get into the EC2 VM creation wizard. From the 'Quick Start' tab, select the 'Amazon Linux 2 AMI' that is labeled 'Free tier eligible' (nothing large is needed to get the files onto the EFS).
From the instance type page, select 't2.micro' that is 'Free tier eligible'. Then click on 'Next: Configure Instance Details' button at the bottom of the page.
Update the 'Network' to use 'qie-ecs-vpc', then change the subnet to the 'us-east-1a' subnet (this is where the EFS is placed). Now change the 'Auto-assign Public IP' to 'Enable'. Click on the '6. Configure Security Group' tab at the top of the page.
Change 'Assign a security group' from 'Create a new security group' to 'Select an existing security group'. Select the 'default' security group. Click on the 'Review and Launch' button at the bottom of the page.
Click on the 'Launch' button at the bottom of the page. Then confirm the 'key pair' used for SSH. The key pair is not needed, because the 'EC2 Instance Connect' option is used to reach this VM.
Connect to EC2 VM
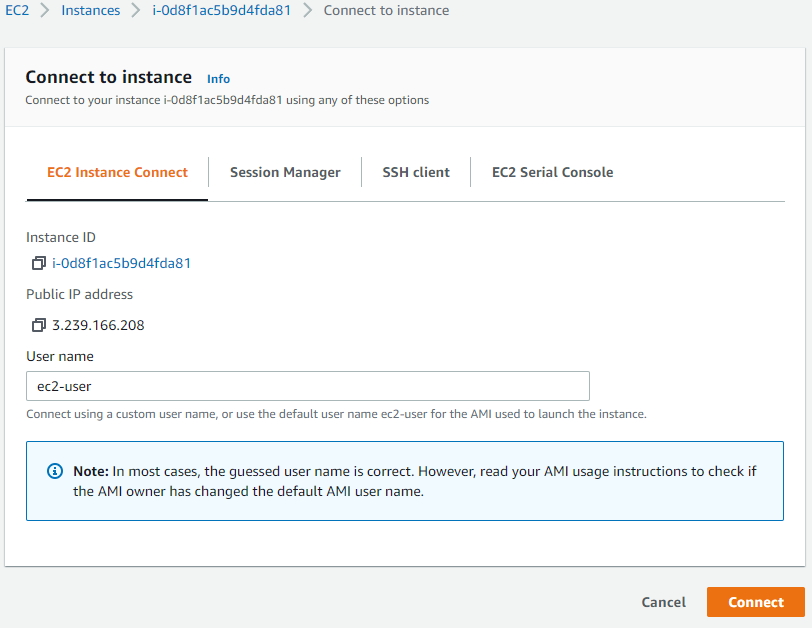
Select the new VM on the 'Instances' page, wait for the instance to fully start, then select 'Connect'. From the 'Connect to instance' page, select the 'EC2 Instance Connect' tab, then click on the 'Connect' button at the bottom of the page. This should open a new window giving you a command prompt on the VM.
Once connected, install the amazon-efs-utils. Run the following from the command line:
Now make a folder to mount the EFS onto. Run the following from the command line:
To get the mount command for the EFS, navigate back to the EFS management page and select the 'qie-ecs-efs' file system. Click on the 'Attach' button at the top of the page. Click on the copy icon under the 'Using the NFS client'. Now go back to the VM and run the copied command. It looks something like:
Note
Use the exact command copied from the EFS console. The file system DNS name and any additional options are filled in for your specific EFS.
Now cd into the new folder that has been mounted:
Create two folders, one for lib and the other for jdbcDriver folder that is mounted to the ECS containers:
Navigate to the lib folder to download the VTD jar file and any other jar files that need to be used inside of QIE:
Now navigate to the jdbcDriver folder to download the MySQL JDBC driver. To find the link to the latest driver, browse to https://dev.mysql.com/downloads/connector/j/ then select the 'Platform Independent' operating system and click on the download button for the ZIP Archive. This takes you to a login, you can right click on the link at the bottom labeled 'No thanks, just start my download.' and 'Copy link address'.
cd ../jdbcDriver
sudo wget https://dev.mysql.com/get/Downloads/Connector-J/mysql-connector-java-8.0.27.zip
With the zip file downloaded, extract the jar file from it.
sudo unzip mysql-connector-java-8.0.27.zip mysql-connector-java-8.0.27/mysql-connector-java-8.0.27.jar
sudo mv mysql-connector-java-8.0.27/mysql-connector-java-8.0.27.jar ./
sudo rm -r mysql-connector-java-8.0.27
sudo rm mysql-connector-java-8.0.27.zip
sudo unzip mysql-connector-java-8.0.27.jar
Now that the EFS has the files on it, disconnect from the VM and terminate the EC2 VM instance.