Configuring a Socket Connection
This chapter shows how to configure an outbound Socket Connection. This example connects one channel on an outbound connection to another channel on an inbound or source connection. In the real world, you may encounter a need to pass messages from one channel to another. This can be done using either a file transfer or a socket connection. In this exercise, think of the second channel as the receiving end of another application that you would be sending data to.
Setting up a Socket Connections
Step 1: Configuring the Outbound Destination
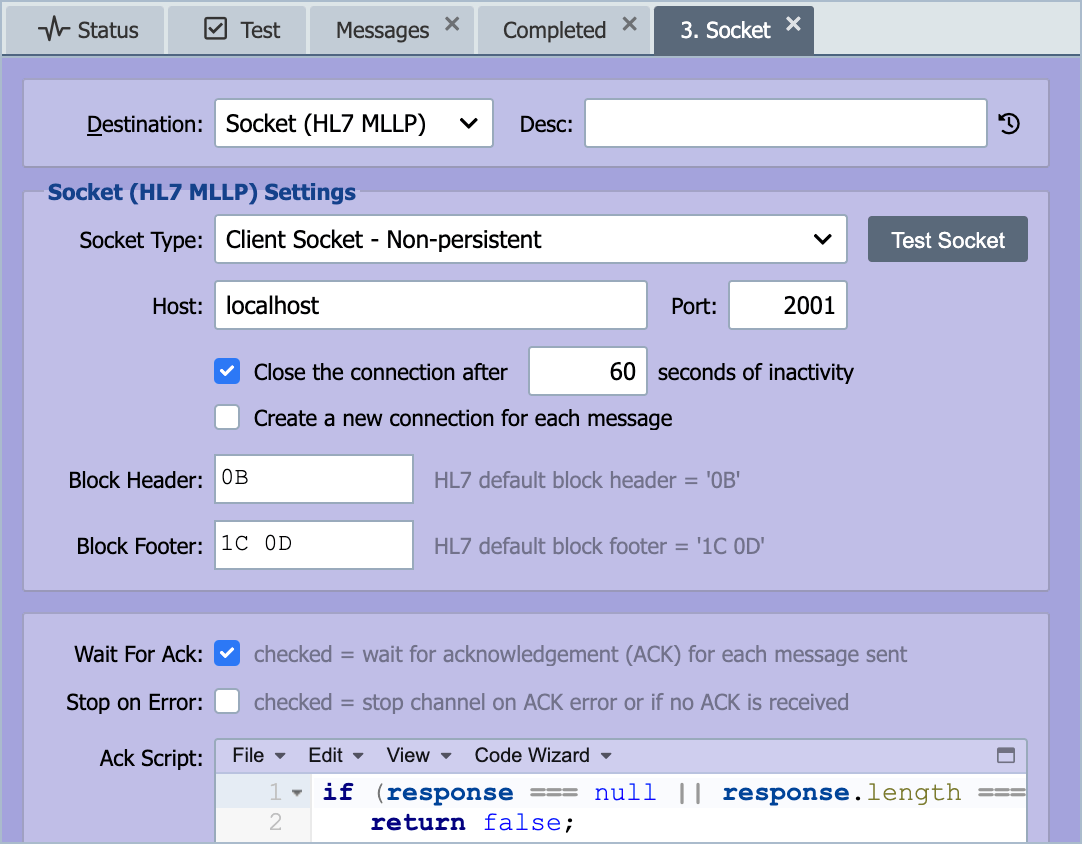
Select the destination node of the Test Channel channel and select from the destination drop down menu Socket. Set the following options as follows: Socket Type = Client Socket - Persistent, Host = localhost, Port = 20001, Wait for Ack = checked, keep all of the other default settings.
Save the channel before proceeding to the next step.
Note
When setting up socket connections the Client is the sender of the information and the Server is the recipient of the information. It is always the recipient of the information who determines the port number used for the socket connection. Therefore if QIE is receiving messages on a socket connection then an available port number on the QIE server would be determined and communicated to the sender. If on the other hand QIE is sending the data outbound to another recipient then the interface engineer would need to obtain the port number from the recipient and set it in the destination configuration.
Step 2: Create a New Channel
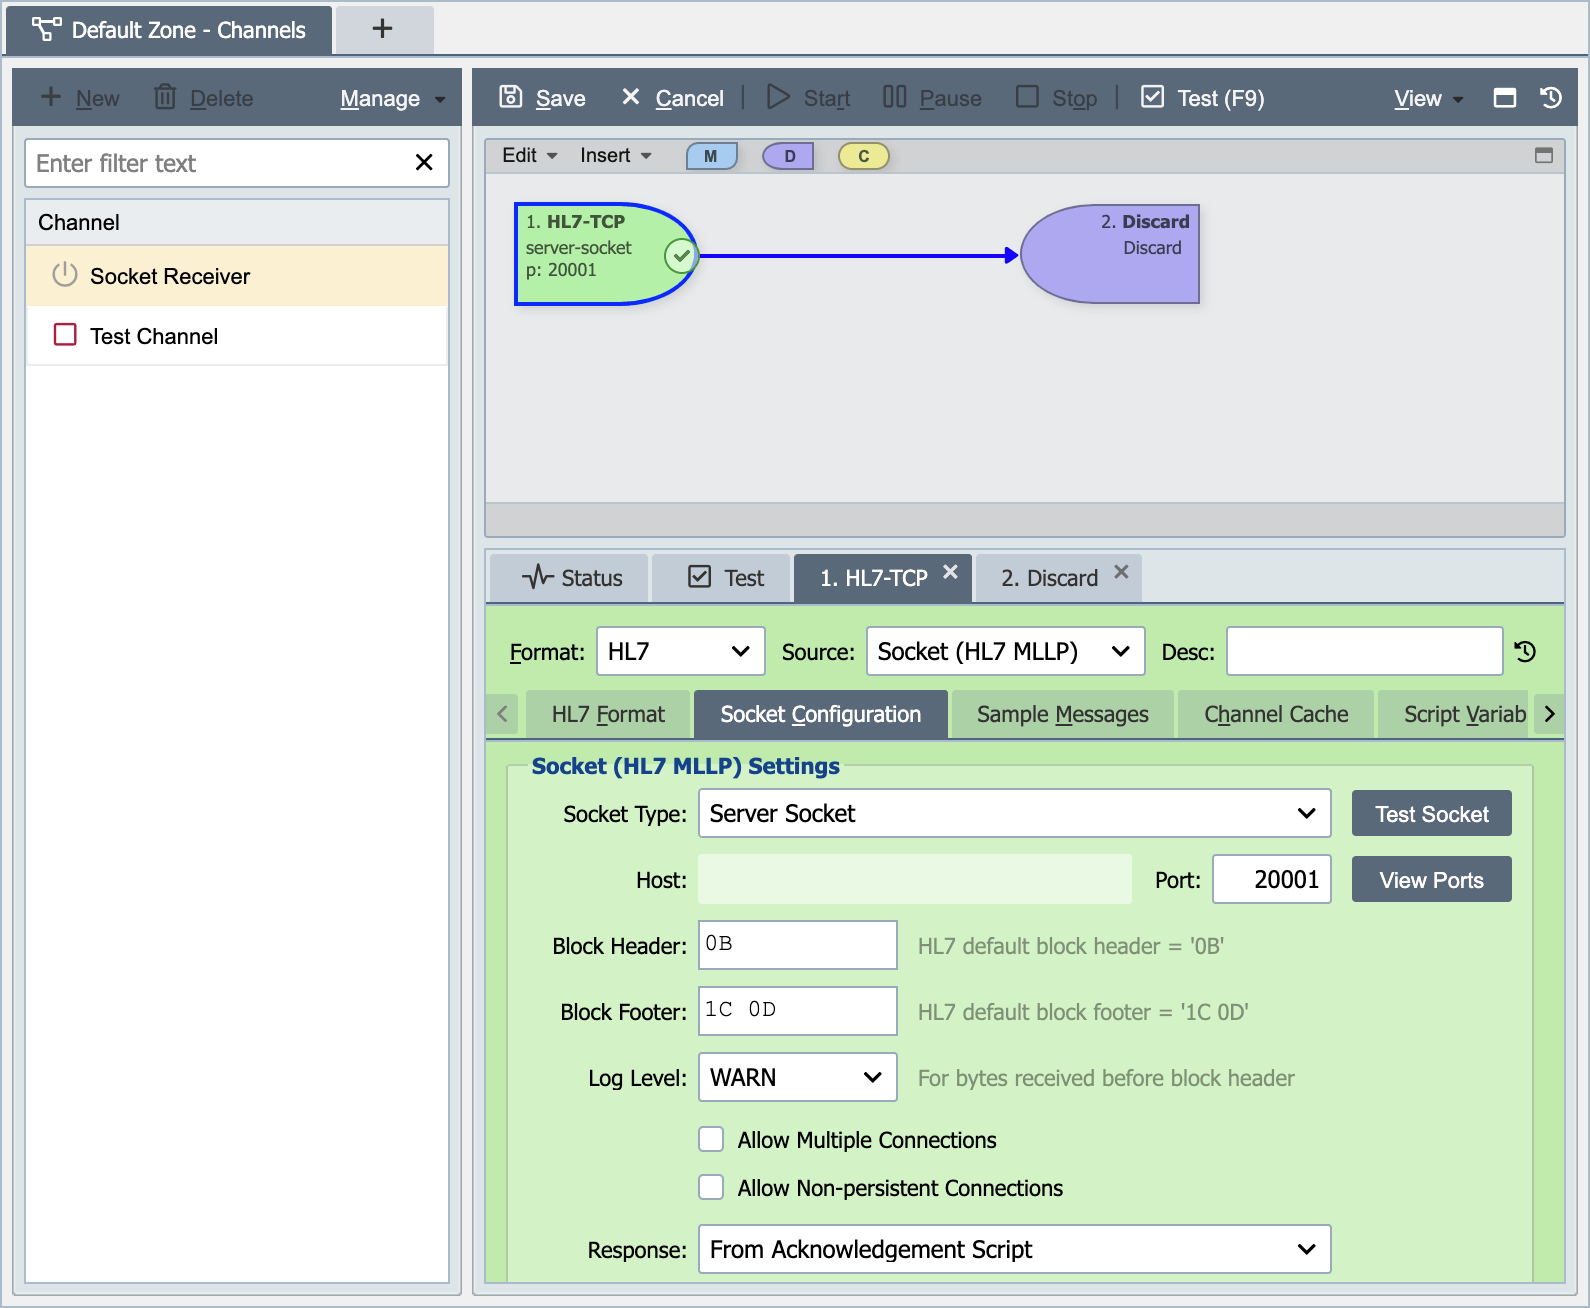
Click New to create a new channel and name it 'Socket Receiver'.
Select the source node and set the Format = HL7, Source = Socket. Now set the socket parameters to the following: Socket Type = Server Socket, Port = 20001, and Response = From Acknowledgement Script.
Now highlight the mapping node and delete it.
Then reconnect the source node to the destination node and set the destination node to Discard.
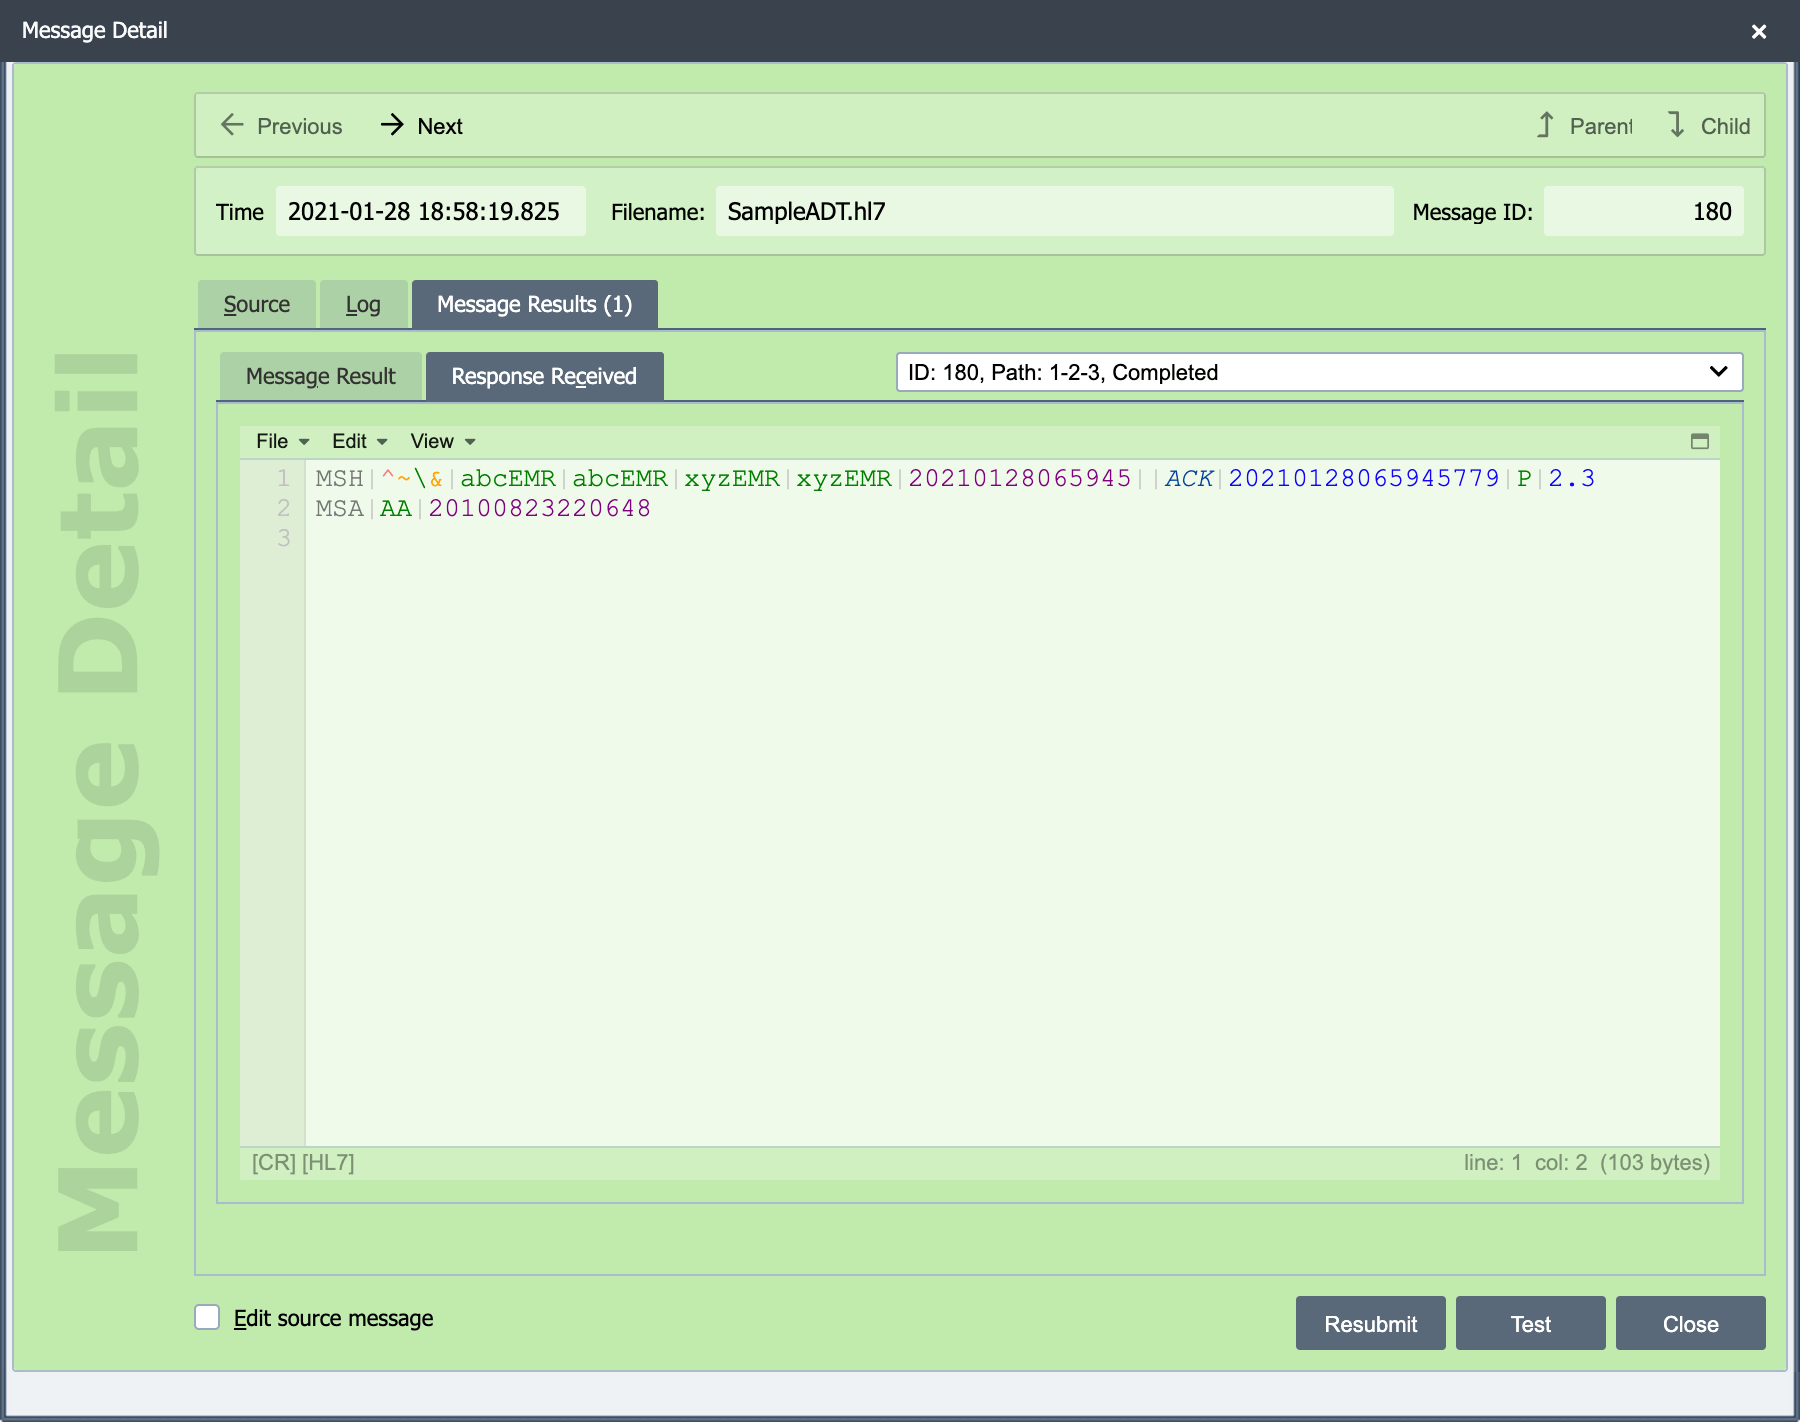
Save your changes and start both channels. Now drop the Sample ADT message from chapter one into the inbound directory specified for the Test Channel channel used so far, and name it with an extension of 'fileName.hl7'. If all goes well the file should process outbound on the first channel and to the inbound side of the second channel. If you look at the Messages tab on the Test Channel channel you should see the message there. Double click on the message to open it in the Message Detail dialog window. You should see a view drop-down item Response Received. This is the ACK message that was sent back from the Socket Receiver channel.
Note
It is recommended that all socket connections be setup with ACK messaging enabled. Without ACK messaging set up, you cannot tell whether the recipient received the message.